
I figured I’d take you behind the scenes of our server build process at NodeSpace. This is how we build all of our servers – from start to finish. While other providers have these elaborate, fully automated methods, we like to take a personal approach by building our servers by hand. Whether it’s a custom server or one of our standard builds, this is how all of our servers start their journey.
I’m going to drop a bit of juicy info here, too. As we are expanding, I don’t want to give the impression that we don’t automate. We absolutely do! We’re working on a new dedicated server self-service and automation platform. As we get some standardized builds, this platform will handle grabbing an available server from inventory so that we can have a ~10 minute deployment window and for custom builds, you’ll be able to manage your server from a web portal. We’ve been making huge infrastructure upgrades to so we can implement this.
Hardware inventory check-in
The first stage is to inventory the components. We check to make sure that the hardware matches what we order. We mostly order assembled systems, but occasionally, we do a few upgrades here and there or install components in barebones systems. During this stage, we asset tag the chassis and print out identification labels. We stick these labels on the front and back of the server so we can identify the server in the rack. When you submit a ticket for your server, we look it up in our system and we can relay the location to our DCO (that’s Data Center Operations) team.
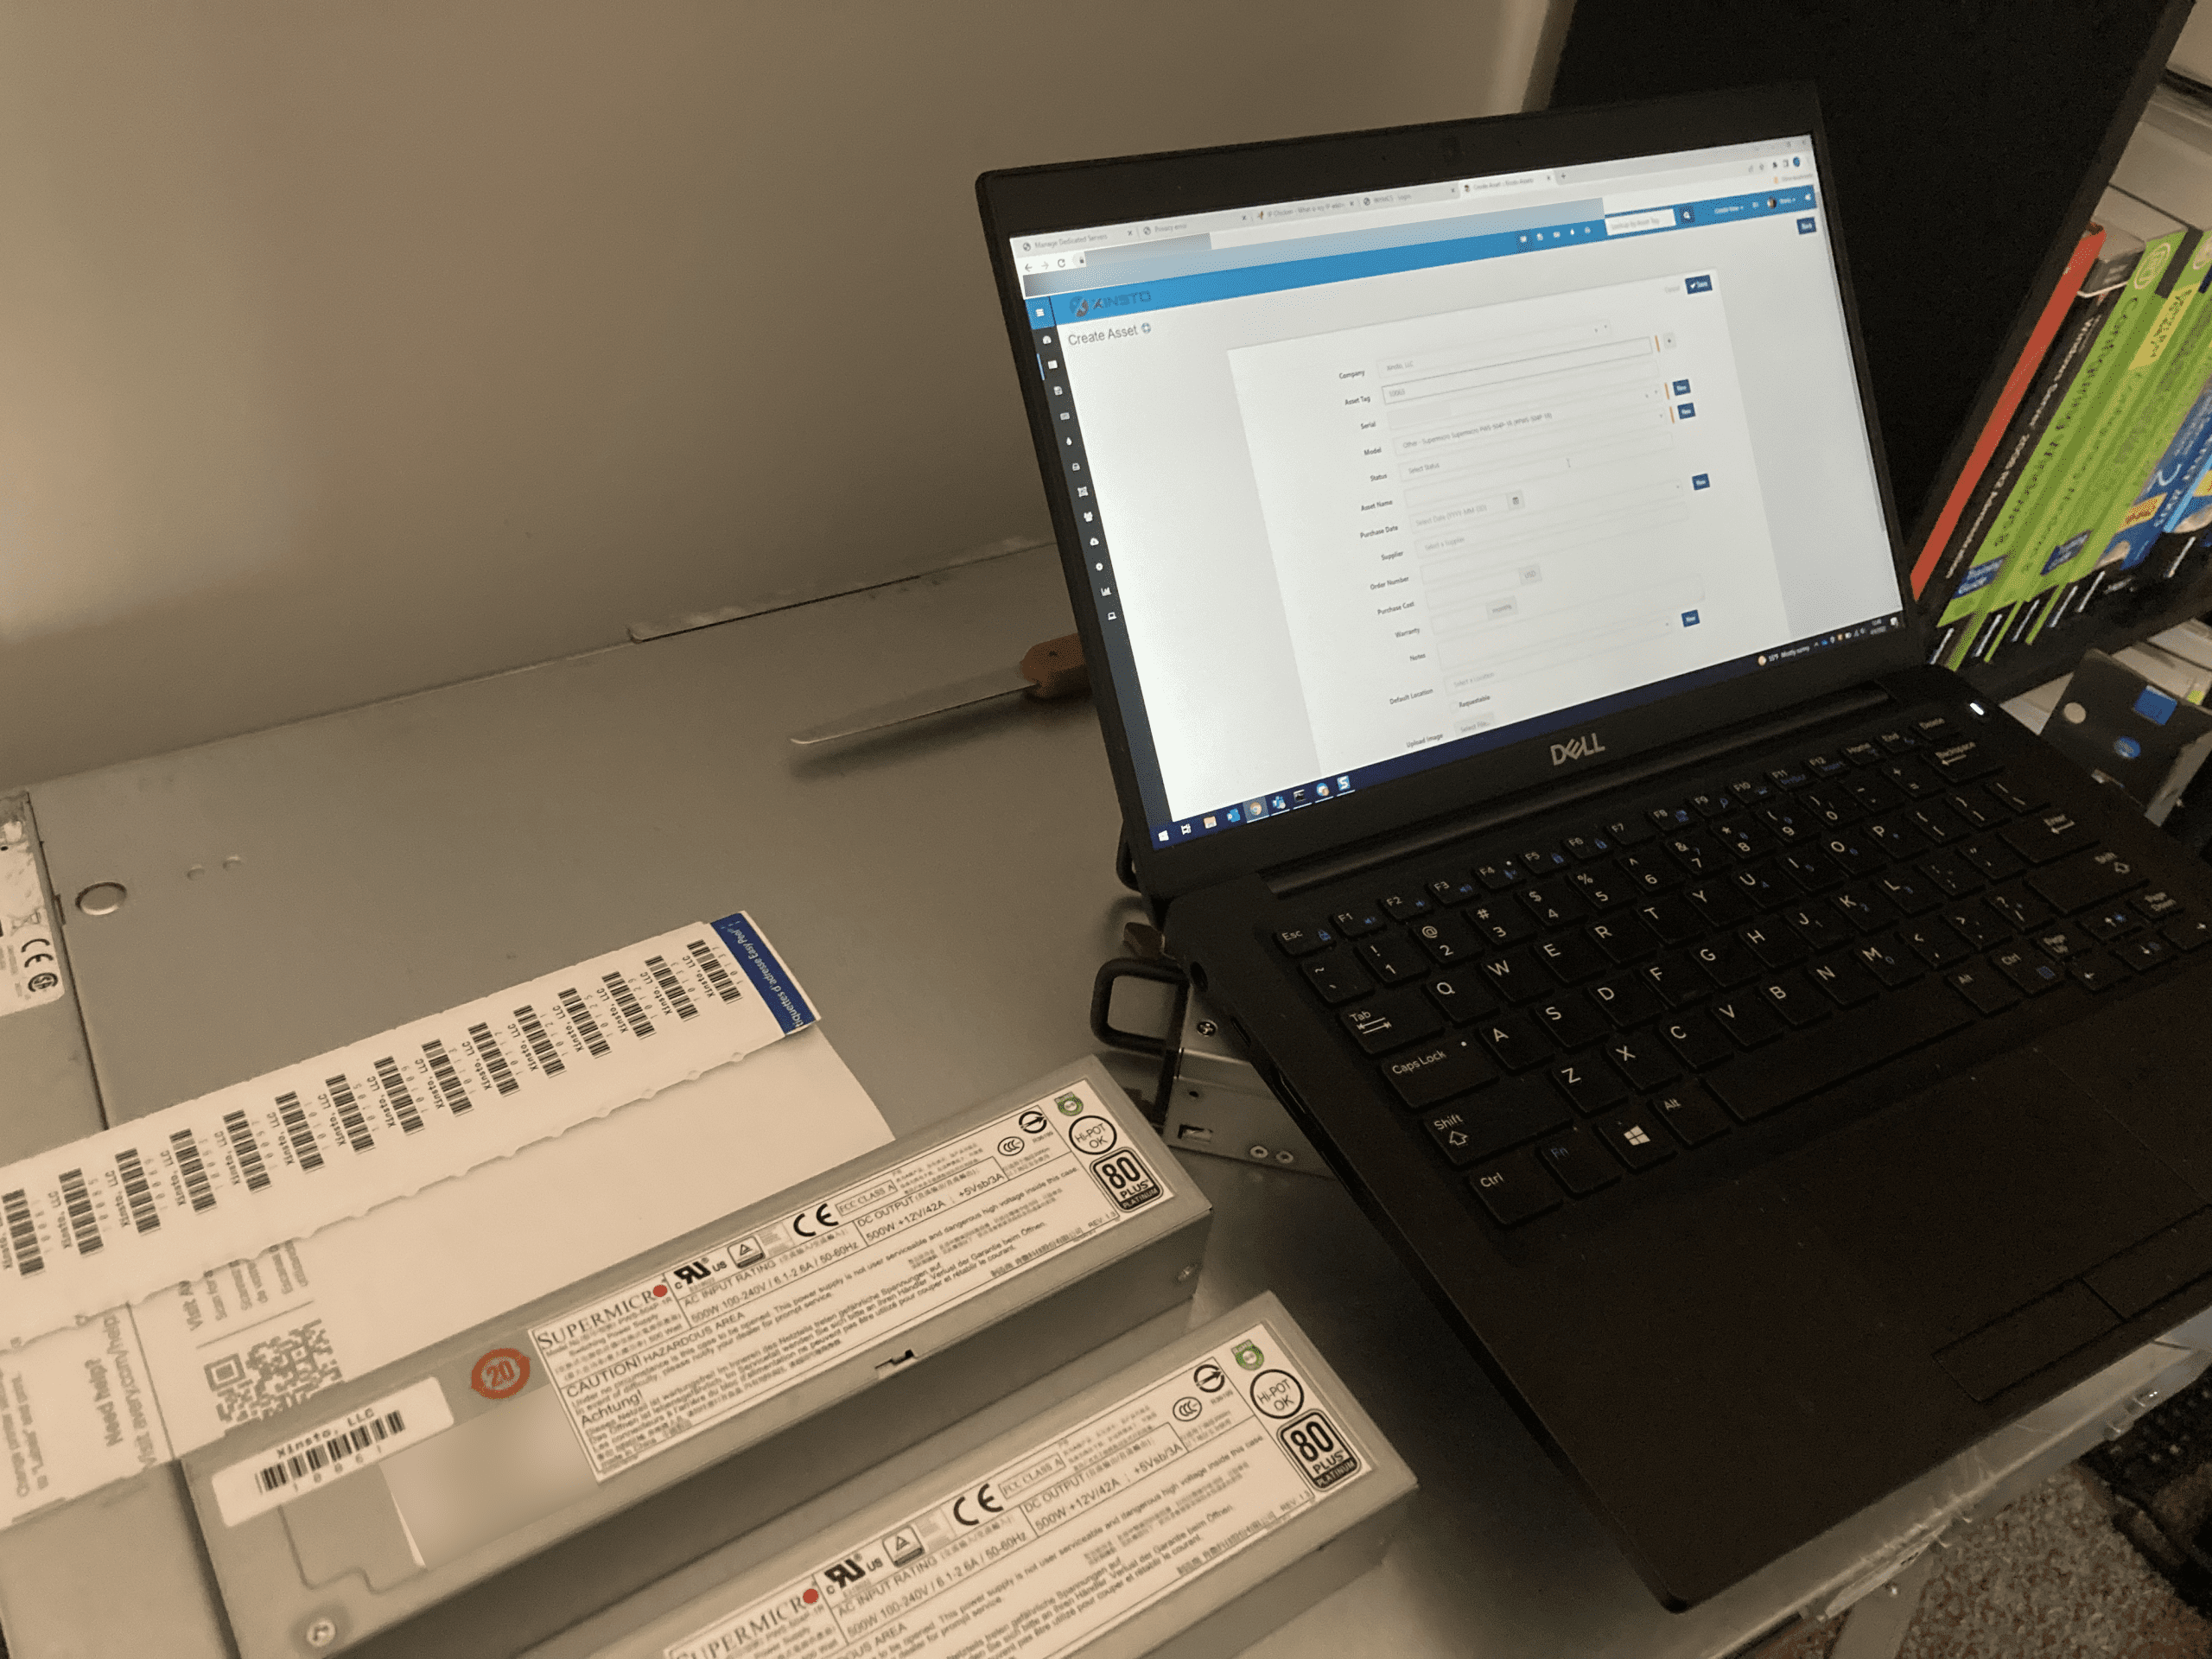
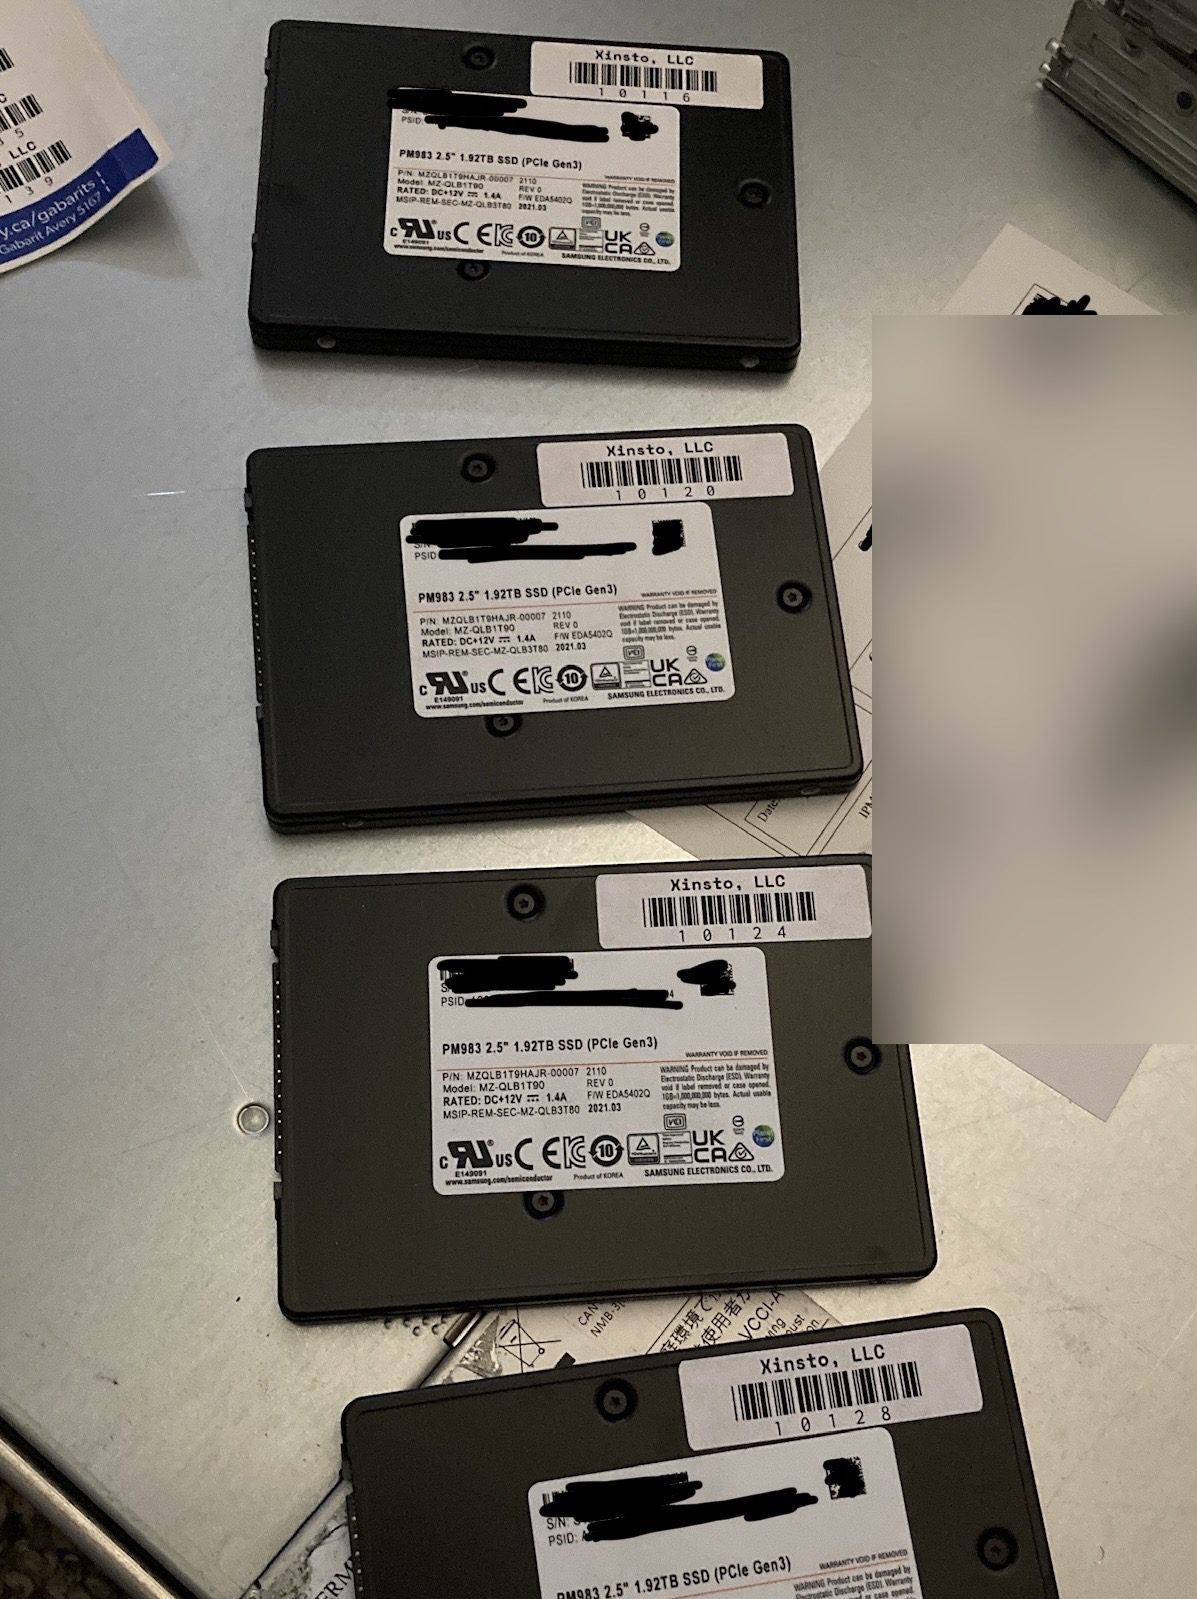
We also inventory the drives we ordered with the system. Drives can easily move between systems, so we also give every drive a special asset tag. We link the drive to the server in our asset system. This also serves a dual purpose. It helps us ensure data security. Tracking where a drive goes or has been ensures that we know exactly who has handled it and where it belongs. We don’t mess around with our data security. We take it very seriously. It’s how we protect your data.
Basically, our goal is to always know what belongs where and to whom. We also have strict asset control with our data center partners. Not only do we know what hardware is where, they do as well. We review our asset tracking policy with them to ensure no equipment or parts go where they shouldn’t. Including leaving the facility. If it hasn’t been pre-authorized for removal, it cannot leave. Period.

And you better watch out! I am pretty good at laser tag! Don’t worry – our barcode scanners actually lack lasers so it’s safe to play laser tag in the office.
IPMI Configuration
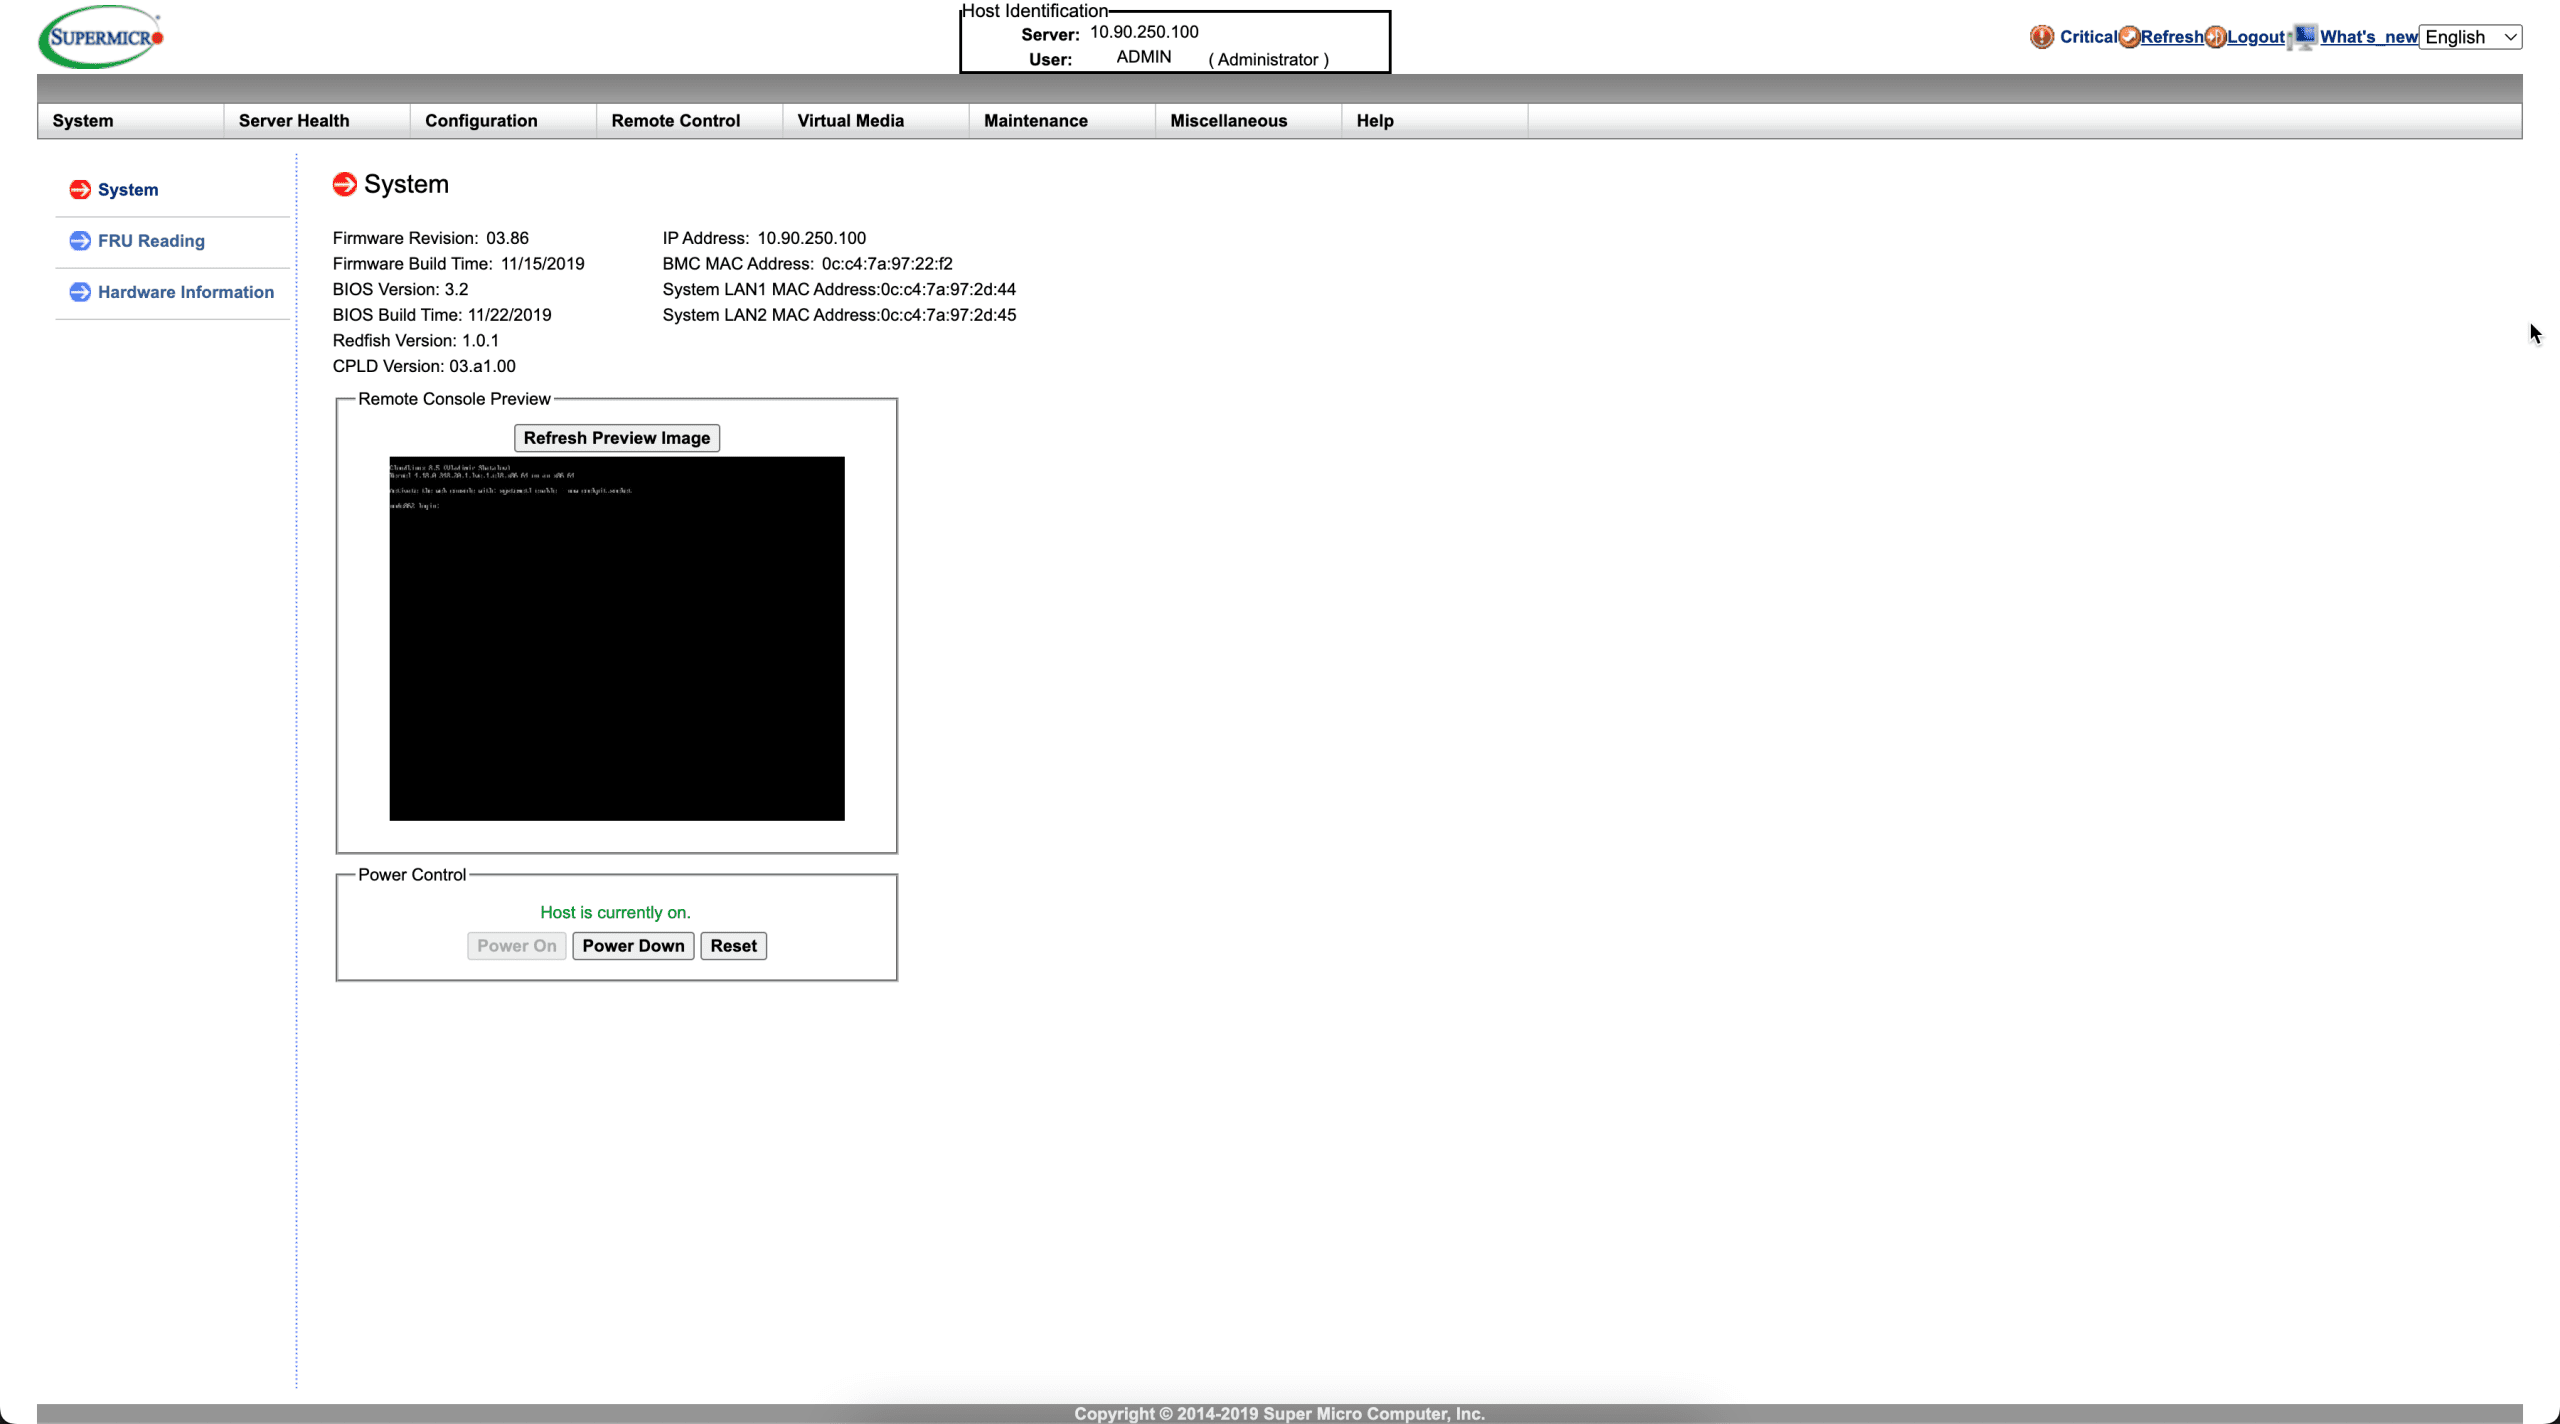
The next step is configuring out of band access. We have a special network in our data center that is for out-of-band access. If your server stops responding, you can VPN in and connect to your IPMI port. Soon, we’re going to have a proxy that will grant you secure access to your IPMI console, but for now it’s VPN. Once connected, you can reload your OS, edit BIOS settings, etc. as if you were sitting in front of the console.
This process isn’t anything too spectacular. We find an available IP in our subnet, and configure it along with our backend account. This is for our techs to connect to your server and so you can’t lock yourself out.
We verify that all IPMI functions work and we’re on the latest firmware. The firmware check is important as it ensures that functions are available. Like our new boards have HTML5 IPMI consoles while our old ones still rely on Java. But some of our newer boards come to us with older firmware that doesn’t have HTML5. By updating, we unlock the HTML5 functionality.
Burn-in Testing
Before a server is given to a customer, we put the hardware through a rigorous burn-in test. Have you ever experienced a time where your computer crashes, but only when you’re doing certain things like playing a game? This is actually a true story – many years ago, one of my friends asked me why their computer crashed but didn’t always crash. So I had them play a game I knew was very resource intensive. Sure enough, shortly after playing, it would crash. The problem? When the game was getting to a bad memory stick, it crashed. They replaced the stick of RAM with a spare and confirmed and then bought a replacement stick of RAM. That’s what our burn-in test helps do. It gives the server a simulated workload of various capacities. If something happens, like a crash due to bad hardware, the report we get tells us which stick of RAM is bad. We replace it, test again, and if it passes, we then make it available for our customers.
Sometimes, we get complaints that it’s taking so long to get a custom server deployed and it’s usually because of the test phase. While less than 1% of our hardware comes to us DOA, we’ve learned a lesson in the past to validate before deploying. If we catch that less than 1% before it’s in your hands, you’re 100% happier with us. We want to be known for our quality and attention to detail, not giving you garbage hardware.
Ready For You!
At this point, the server is racked and ready to go. It sits powered off until we’re ready to provision it for you. Our servers don’t idle because not only does it save energy (part of our Green Hosting Commitment), but there’s no reason to burn hours on drives or other hardware. This means our hardware lasts longer and fails much less often. So while we may never be able to provision a bare metal server in under 10 minutes like our competitors, it’s because we want to give you a product that is going to last.
Thanks for following along on our server build process! We’d love to hear your thoughts at our new community!