
Using a version control system (VCS) has a lot of beneficial uses even if you’re not a developer. For example, at NodeSpace, we use git, a popular VCS, to manage configuration files of critical systems, network infrastructure, and our infrastructure as code (IaC). As you might guess, these files are sensitive in their contents and we do not permit them to be uploaded to public systems like Github. While we do have a Github organization where we post open source projects and code, we keep some stuff internal and closed. Here’s how to setup your own Gitea server, either using a virtual machine on a Proxmox private cloud server or using a VPS.
Installing Gitea on AlmaLinux 9
In this tutorial, I am using AlmaLinux 9, but you can also use AlmaLinux 8, Rocky Linux, CentOS Stream, or any other flavor of Linux you’d like. However, keep in mind that the commands I’m going to be providing will only work on RHEL-based distros. This guide also assumes you’re using a user with sudo permissions.
First, you’re going to need a server to install Gitea on. The nice thing about Gitea is that it is very lightweight so if you already have a server with data on it, you can install Gitea without any issues.
We need to create a non-root user for Gitea to run as. This is for system security. If something was to happen, you don’t want anyone to get access to root.
sudo useradd -rms /bin/bash gitea
If SELinux is enabled, you’ll need to disable it. You can do this for your session by running:
sudo setenforce 0
And then to make this change permanent, we need to disable SELinux from the config. Edit the SELinux config file with this command:
sudo vi /etc/selinux/config
If you’re not familiar with vi, it’s really easy. Press I on your keyboard and then move your cursor using the arrow keys to where you want to edit. Make your changes. Press the escape key and then type :wq! and press Enter. This will save your changes and exit vi.
Update your system and install the required software:
sudo dnf -y update
sudo dnf install -y git sqlite wget
At this point, it’s a good idea to reboot, especially if you have any kernel updates applied.
Once you’re re-connected, download the latest version of Gitea using the following command:
wget -O gitea https://dl.gitea.io/gitea/1.17/gitea-1.17-linux-amd64
Replace 1.17 with the current version. You can find this from the Gitea website. This command will save the downloaded binary as “gitea”.
Now we just need to make the binary executable by running:
chmod +x gitea
Move the file to a location on our system where it’s safe to host binaries:
sudo mv gitea /usr/local/bin
Now we need to make some required directories for Gitea
sudo mkdir -p /var/lib/gitea/{custom,data,log}
sudo mkdir /etc/gitea
Since Gitea needs to be able to access these directories, we need to assign permissions to them:
sudo chmod -R 750 /var/lib/gitea
sudo chmod 770 /etc/gitea
sudo chown -R gitea: /var/lib/gitea
sudo chown root:gitea /etc/gitea
You will probably want to run Gitea as a service so it is easier to start, stop, and upgrade. Gitea provides an example systemd service file here. However, I’ve simplified it to our setup. Here’s the one I am using:
[Unit]
Description=Gitea (Git with a cup of tea)
After=syslog.target
After=network.target

[Service]
RestartSec=2s
Type=simple
User=gitea
Group=gitea
WorkingDirectory=/var/lib/gitea/
ExecStart=/usr/local/bin/gitea web --config /etc/gitea/app.ini
Restart=always
Environment=USER=gitea HOME=/home/gitea GITEA_WORK_DIR=/var/lib/gitea

[Install]
WantedBy=multi-user.target
And to create this file on your system, run the following and paste it in:
sudo vi /etc/systemd/system/gitea.service
Running Gitea
Now we can start and enable the gitea service with these commands:
sudo systemctl start gitea
sudo systemctl enable gitea
Now we need to add gitea through the firewall, assuming you have that enabled and running:
sudo firewall-cmd --permanent --add-port=3000/tcp
If you get a “success” message, reload the firewall:
sudo firewall-cmd --reload
Now Gitea should be accessible through your browser to finish setup. Just point your browser to http://<yourserverip>:3000 and adjust the settings I’ve marked. At the very least, you will need to set the database as SQLite as that is the database we’re using. Adjust the other settings to match your setup.
![]()
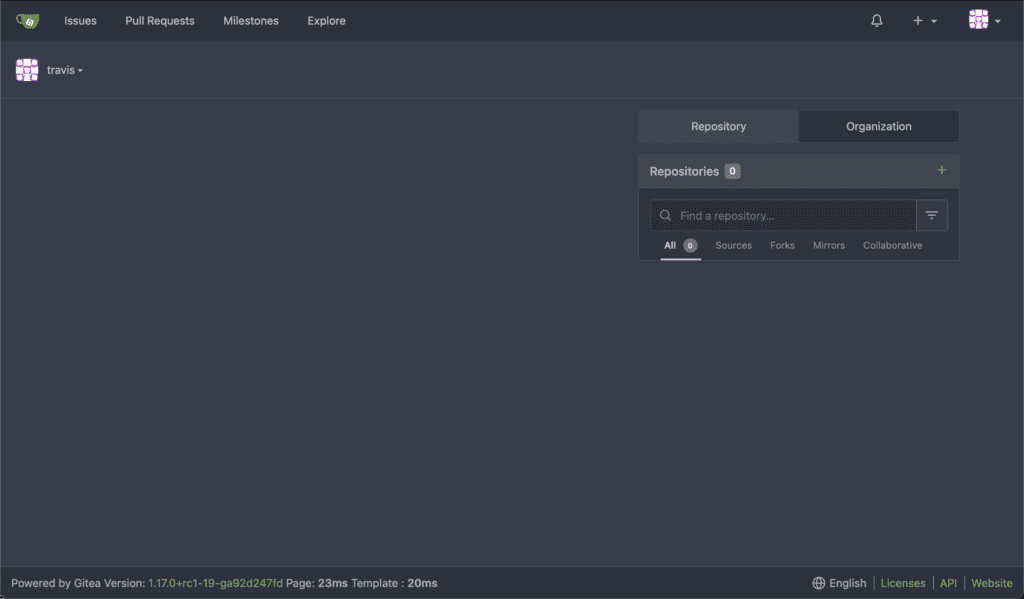
Once gitea is installed, login and you can start creating repos!
Conclusion
And there you have it! Your own private git server where you can store anything you don’t want the world to see. When you install gitea on a virtual machine running on a Proxmox Private Cloud server, you can really ensure security by placing the server behind a virtual firewall. This makes it so that you can restrict access to the server or even make it only accessible via a secure VPN connection, such as WireGuard. If you do want to expose Gitea to the internet, you can use a reverse proxy.
Happy coding!